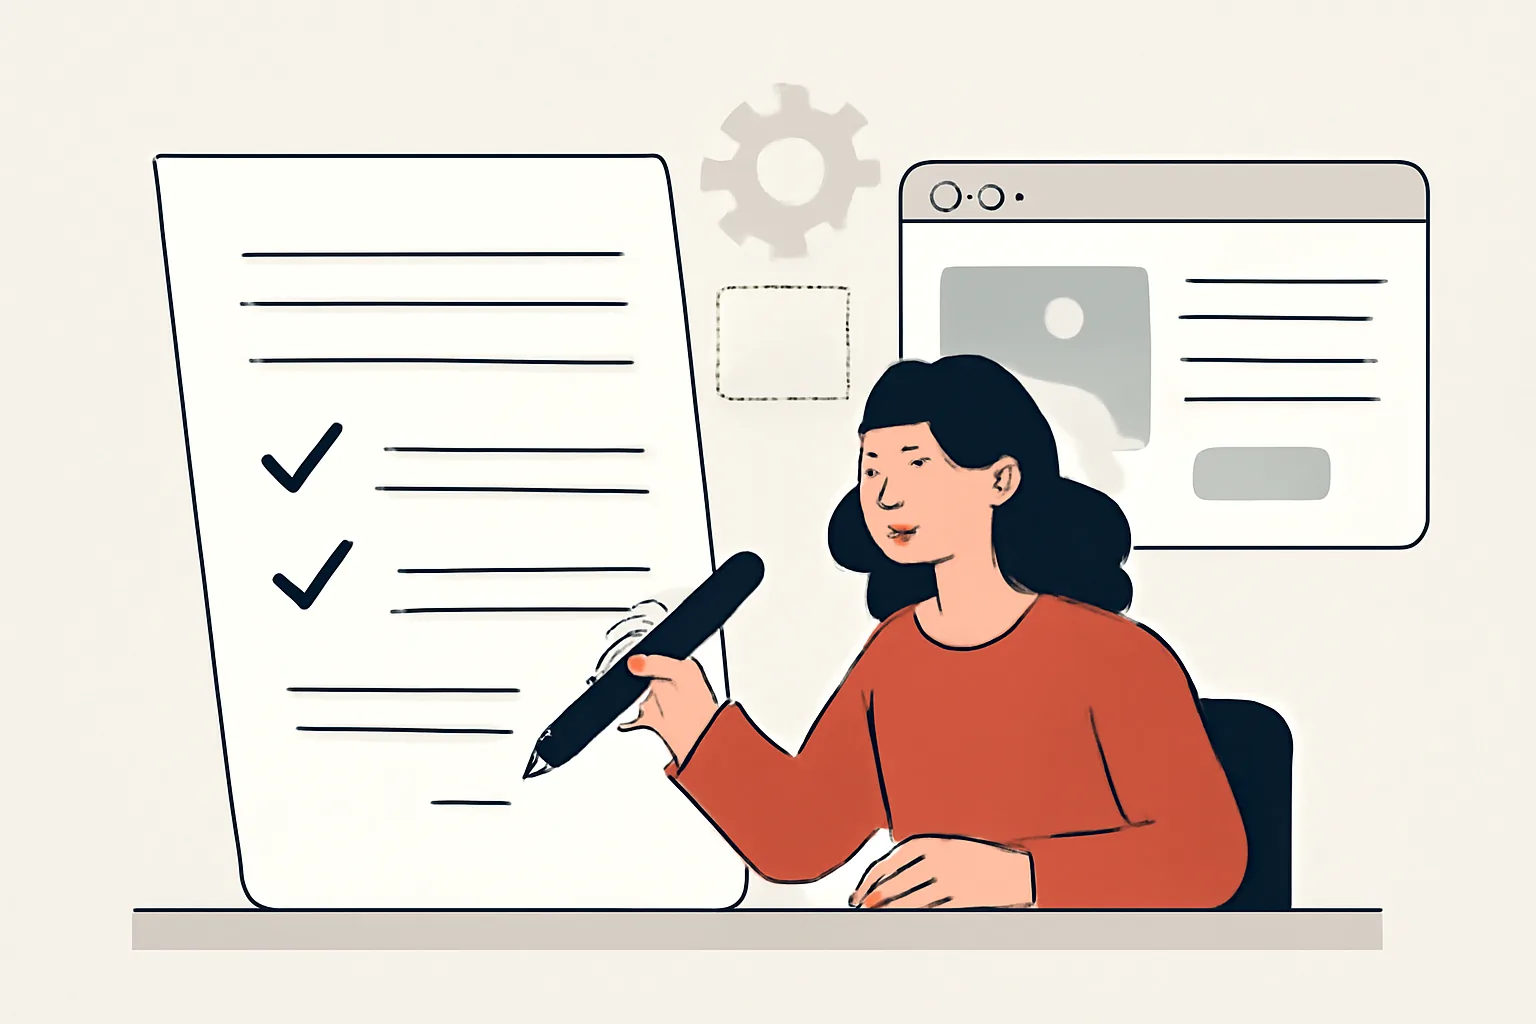
How to Write a Freelance Brief for a Web App with User Accounts
A good brief saves time on day 1. A weak one creates 10 follow-up questions before the freelancer even opens the wireframe file. If you are figuring out how to write a freelance brief for a web app with user accounts, start with the business problem, not the menu labels. One clear outcome beats three vague wishes.
1. Define the web app’s purpose and business goal
Say what the web app does in one plain paragraph. A freelancer needs to know whether this is a client portal, a booking system, a learning dashboard, or a subscription product. The purpose should name the user and the result: “Customers log in to track orders” is better than “A modern platform for engagement.”
Give one business goal with a measurable finish line. If the goal is lead capture, say so. If the goal is paid signups, say that too. The difference matters because a freelancer will shape the account flow, homepage, and calls to action around that target.
State what success looks like in practice. For example: “A user can create an account, verify email, and complete a first task in under 3 minutes.” That single line tells the freelancer more than a page of general enthusiasm. It also keeps the work tied to a real outcome, not a fantasy product deck.
2. Describe the user types and account needs
List every user role you expect on day one. Keep the list short if possible: visitor, registered user, admin, support agent. If there are only 2 roles, write that. If there are 5, explain why. Each role should have a job to do and a permission boundary.
Spell out registration and login rules in concrete steps. Use email and password? Social login? Magic link? Two-factor authentication? Say which one is required and which one is optional. If email verification is mandatory before access, write that.
Permissions are where many briefs go soft. Don’t let that happen. A freelancer needs to know whether one user can edit another user’s data, whether admins can suspend accounts, and whether support can view billing details. A sentence like “Admins can edit all records, but support can only view profile status and recent tickets” removes guesswork fast.
If your app has more than one account type, add a simple table. It makes the brief easier to scan and harder to misunderstand.
| Role | Can do | Cannot do |
|---|---|---|
| Registered user | Create profile, edit own data, submit requests | See other users’ records |
| Admin | Manage users, approve requests, change settings | Bypass audit logs |
| Support agent | View tickets, reset access, add notes | Change billing ownership |
3. Outline the core features and user flows
List the top 5 features first. Not 15. The first version of a web app usually lives or dies on a small number of actions, so name those actions clearly. If users must sign up, confirm email, complete a profile, and submit a request, write that sequence in order. A freelancer can turn that into screens and states.
Describe the main user flow from the first visit to the important success moment. For example: landing page, sign up, verify email, dashboard, create item, review item, submit item. If there are special paths for password reset, plan cancellation, or account deletion, add them as separate flows. Those “small” flows can consume more time than the homepage.
Don’t forget empty states and failure states. What happens if a login fails 5 times? What does the dashboard show before a user adds any data? What message appears when a payment method is declined? A brief that names these cases will produce a better web app, because the freelancer is not guessing at the awkward moments.
One practical trick: write the flow as if you were talking a real person through it at a desk. “Maria signs up, checks her inbox, confirms her email, logs in, and uploads her first file.” That one line is far more useful than “onboarding journey.” It also forces you to notice missing steps.
4. Specify design, content, and branding requirements
Design notes should be specific, not poetic. If you want a calm interface with lots of whitespace, say that. If you want dense tables and enterprise-style navigation, say that too. Include any brand colors, fonts, logo files, or visual rules you already have, and mention what must stay consistent across pages.
List the pages the freelancer should design. A simple app may need 6 or 7: landing page, sign up, login, dashboard, profile, settings, admin panel. If you have legal pages, help pages, or onboarding screens, include them. Otherwise they disappear until the last week, which is usually the wrong week.
Content matters more than many clients expect. Say who writes the copy, who supplies product screenshots, and who provides legal text. If the freelancer must place placeholder text first, note that the final content will arrive later. If you already have content for 3 screens, name them. That prevents surprise rewrites.
Include 2 or 3 examples of apps you like and 1 example you dislike, with a reason for each. “I like the dashboard on App A because it shows status in one glance” is useful. “I dislike App B because it hides account settings behind too many clicks” is useful too. A freelancer can work with that. A mood word cannot.
5. Set technical requirements and integrations
Technical requirements should name the stack if you have one. If you already need React, Django, Laravel, or another framework, say so. If the freelancer may choose, say that the choice is open but must fit your hosting and maintenance plan. This is one of the places where a vague brief gets expensive.
List hosting, database, file storage, and third-party services. If the app must connect to Stripe, SendGrid, Google Maps, Slack, or a CRM, write each service by name. If an API already exists, note the documentation link and version. If webhooks are required, say what should trigger them. A freelancer cannot guess the shape of an integration and still give you a solid estimate.
Security expectations should be plain. State whether you need hashed passwords, role-based access, rate limiting, audit logs, or two-factor authentication. If the app handles personal data, mention any compliance requirement you already know. For a deeper read on platform choices and infrastructure terms, see our guide on cloud computing technology, which can help you name the parts of the stack without hand-waving.
Compatibility needs belong here too. Say whether the app must work on the latest 2 versions of Chrome, Safari, and Firefox, or on desktop only, or on mobile browsers as well. If accessibility matters, say which level you expect. These details shape testing time, and testing time changes the quote.
6. Define deliverables, milestones, and review process
Break the work into stages. A freelancer should know what is being delivered at each step: discovery notes, wireframes, UI mockups, development build, testing version, final handoff. If you want each stage approved before the next starts, say that. One short approval chain is easier to manage than a pile of half-finished assets.
Give each milestone a concrete output. For example: “Milestone 1: user flow map and wireframes for 8 screens.” “Milestone 2: clickable prototype.” “Milestone 3: development build for login, dashboard, and profile.” Even if the numbers change later, the structure helps. A vague milestone like “design phase” invites debate.
Tell the freelancer how feedback works. Will you consolidate comments from 2 stakeholders into one document? Will revisions happen in Figma, a project board, or email? How many revision rounds are included? If no one owns final approval, the project can stall for weeks on a button color or a header label.
This is also the place to define handoff items. Ask for source files, documentation, admin credentials, deployment notes, and a short setup guide. If you want the freelancer to record a walkthrough, say so now. Later is too late. If you are also checking reputation while hiring, the article on how to hire a freelancer safely is worth a look before you sign anything.
7. Add budget, timeline, and communication details
Budget should be a range, not a secret. If you can spend $3,000 to $5,000, say that. If the budget is fixed, say that too. A freelancer who knows the range can propose the right scope instead of packing too much into a narrow number. That saves both sides from awkward surprises.
Timeline should include one target launch date and a few checkpoints. Write the date you want the first draft, the date you want testing to begin, and the date you want final delivery. If any date depends on your own approvals or content delivery, note the dependency. A project can miss a deadline for a simple reason: someone waited 9 days for brand copy.
Choose one main communication channel and stick to it. Slack, email, or a project board each works fine, but mixing all 3 usually slows people down. State how often you want updates: daily, twice a week, or at the end of each milestone. If you expect a reply within 24 hours, write that explicitly so nobody has to guess.
Close the brief with the decision rules. Say who can approve scope changes, who signs off on payment, and who owns the final product account. Mention what happens if the brief changes after work starts. Even one sentence helps: “Any new feature after milestone 2 will be estimated separately.” That line protects the budget and keeps the web app moving in one direction.
If you want a quick quality check before sending the brief, compare it against all tags on the freelance marketplace to see how your project description will look to a freelancer scanning options. Then read it one more time as if you were the freelancer, not the buyer. If the brief still answers who, what, when, and how much, you are close.




Comments 0
No comments yet — be the first.